Drone Photography ND Filters Guide: Why Your Summer 2026 Footage Still Looks Amateur (And How to Fix It)
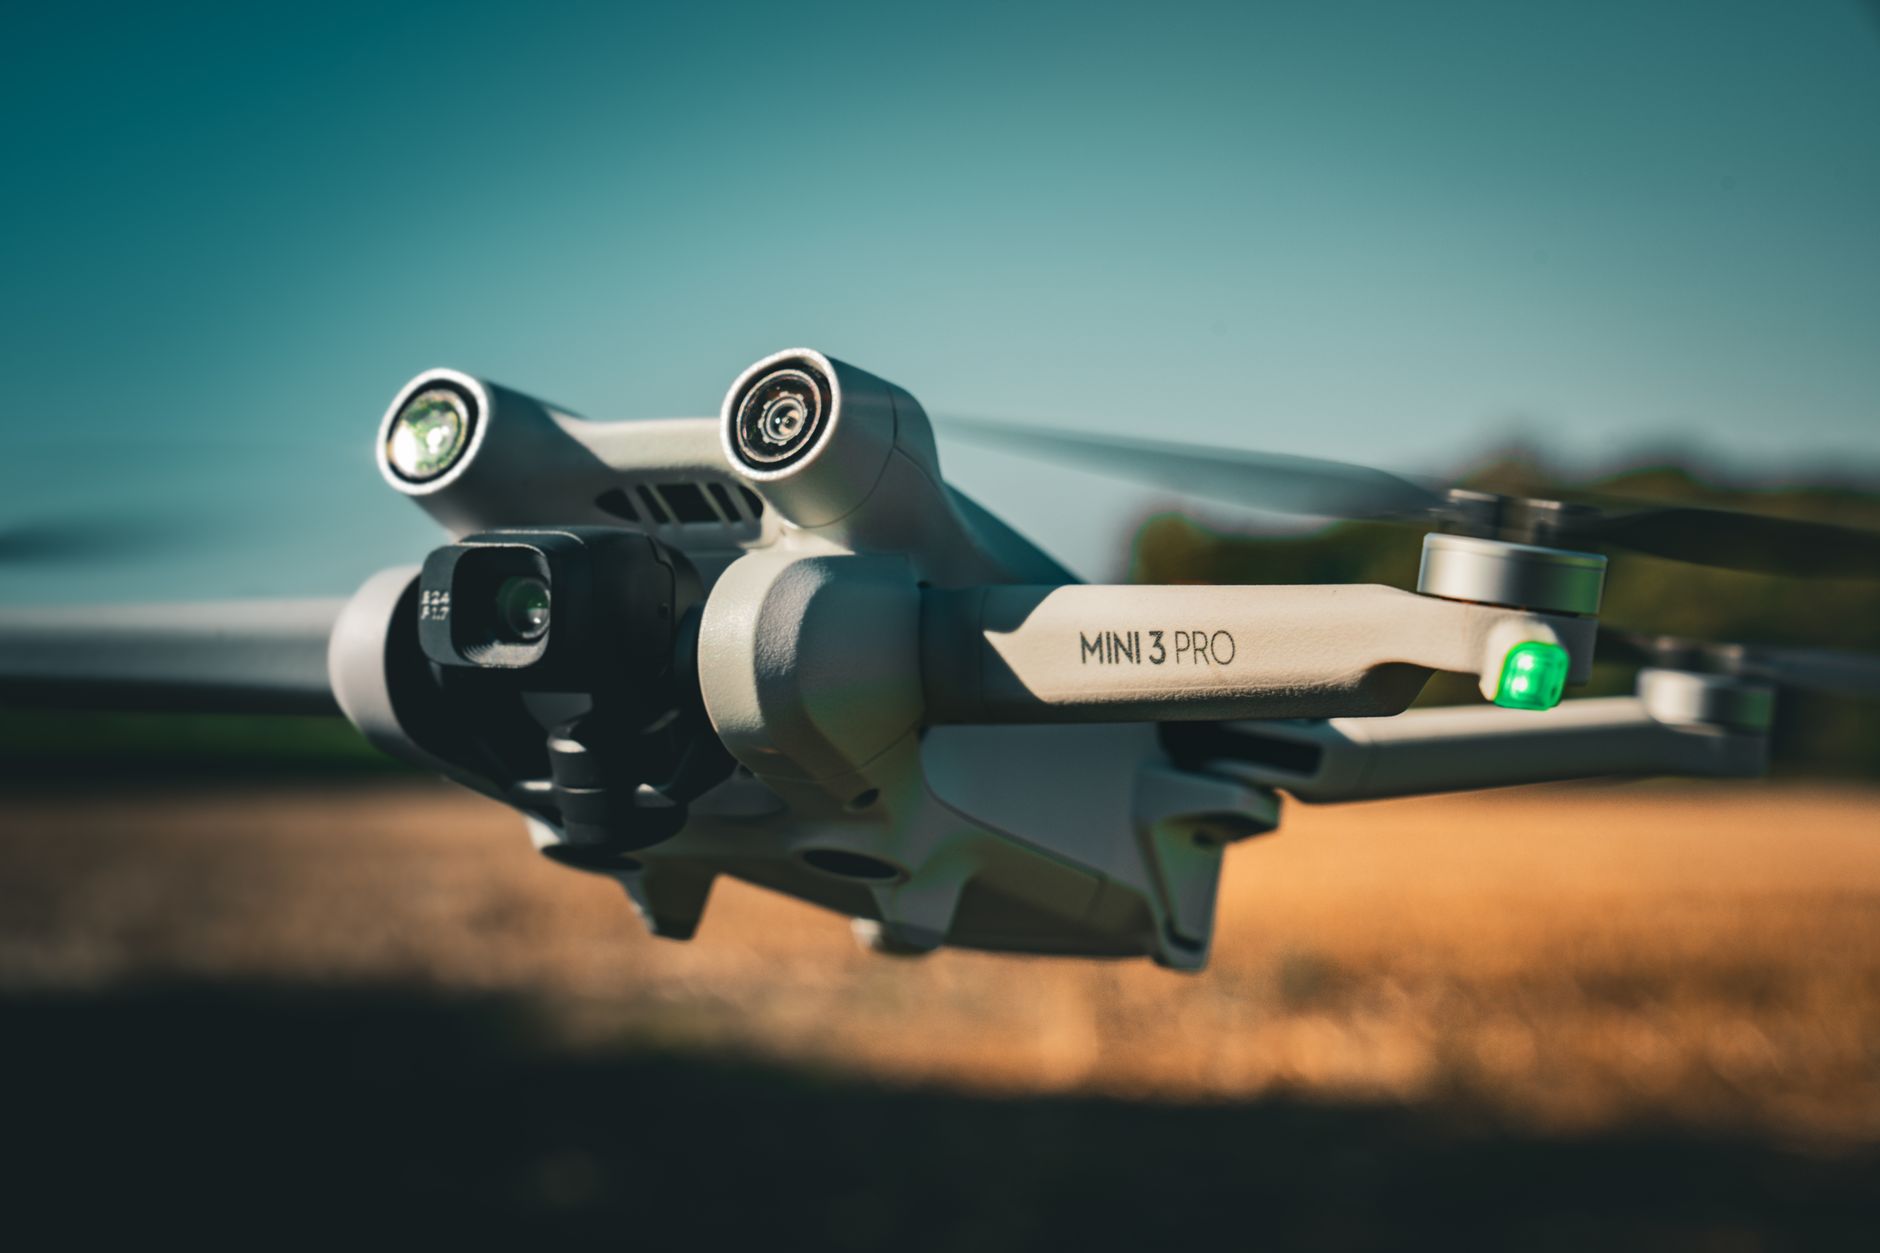
Here’s the uncomfortable truth: everyone flying this summer has the same drone you do. The same sensor. The same 10-bit codec. The same “cinematic” button in the app. Yet their footage looks like a nature documentary and yours looks like a shaky phone clip with propellers.
The separator isn’t talent. It’s often a $12 piece of dark glass they’re using correctly—and you’re not.
With Dronelife reporting that 2026 has become the busiest year yet for recreational and commercial drone registrations, the bar for standout aerial content has never been higher. The algorithm doesn’t reward “good enough” anymore. It rewards footage that holds exposure, preserves motion, and doesn’t scream “I shot this on auto.”
This drone photography ND filters guide is built for that reality. No generic “ND filters reduce light” fluff. No charts copied from 2019. Just the specific strengths, stacking combinations, and gimbal-calibration fixes that separate working pilots from hobbyists posting their tenth identical sunset reel.
Why ND Filters Matter More in 2026 Than Ever
Drone cameras have improved dramatically, but physics hasn’t. The Mini 5 Pro, Air 4, and Mavic 4 Pro all ship with fixed apertures between f/1.7 and f/2.8. In summer light at ISO 100, that forces shutter speeds of 1/1000s or faster.
Fast shutters freeze propeller motion into jittery micro-stutters. Water stops looking like silk. Car wheels look parked. The “cinematic” feel everyone’s chasing requires motion blur—specifically, the 180-degree shutter rule (shutter speed = double your frame rate: 1/50s for 24fps, 1/60s for 30fps).
ND filters are the only tool that gets you there without cranking ISO or stopping down electronically (which most drones can’t do).
But here’s what changed in 2026: newer drones have wider native dynamic range, which means heavy ND8 or ND16 filters can actually preserve more highlight detail than the camera’s own processing. The old advice of “fix it in post” now costs you recoverable data. Filters protect that latitude at the moment of capture.
The Filter Strengths That Actually Work (No More Guessing)
Stop buying variety packs of eight filters you’ll never use. Working aerial photographers in 2026 run three core strengths and one specialty:
ND4 (2-stop): Dawn, dusk, heavy overcast, or dense forest canopy. The Mini 5 Pro’s f/1.7 aperture demands this even in marginal light. Use it when your metered shutter wants 1/250s or slower at base ISO.
ND8 (3-stop): Your workhorse. Golden hour, open shade, partly cloudy. Gets a 1/500s reading down to 1/60s for 30fps. If you own one filter, this is it.
ND16 (4-stop): Midday sun, snow, beaches, white concrete architecture. The strength most beginners skip—and then wonder why their coastal footage looks like a video game cutscene.
ND32 (5-stop) or ND64 (6-stop): Direct tropical sun, high-altitude desert, or intentional long-exposure stills (0.5-2 second shutter for cloud blur or silky water). Requires a perfectly balanced gimbal and calm conditions.
The mistake: Buying ND2-ND400 variable filters for drones. The X-pattern polarization at wide angles, the added weight straining gimbal motors, and the inconsistent density across the frame make them unreliable for professional work. Fixed strength with proper thread engagement wins every time.
Stacking and Combining: The Pro Workflow Nobody Explains
Single-filter simplicity is fine for beginners. But the pilots getting commissioned work in 2026 are stacking deliberately:
ND + Polarizer (CPL) combinations: Essential for eliminating water glare, deepening foliage saturation, and cutting atmospheric haze over distance. The key is ordering: polarizer closest to the lens, ND filter outward. Reversing creates vignetting on wide-angle drone lenses.
Practical stacking limits: Two filters maximum on Mini-series gimbals. The Mavic 4 Pro’s heavier assembly can handle three in calm air, but expect gimbal overload warnings in wind above 15mph. Always test your stack before critical flights.
When to skip stacking entirely: Low-altitude, fast-moving subjects (tracking vehicles, FPV-style proximity flying). The additional glass reduces transmission slightly, and any filter misalignment becomes motion-blur streaking at 40mph+.
The hidden trick: Some 2026 filter sets (Freewell’s Bright Day 4-Pack, Tiffen’s Aerial Pro line) now include “hybrid” filters combining fixed ND with mild polarization. These eliminate the weight and calibration issues of true stacks while delivering 80% of the benefit. For single-operator pilots, they’re the practical sweet spot.
Gimbal Calibration: The Step That Ruins 40% of Filtered Flights
This is the section that separates guides from useful guides.
Adding any filter changes your gimbal’s center of gravity. DJI’s software compensates, but it compensates based on expected weight, not actual. Every filter swap should trigger a recalibration sequence:
- Power on the drone with filters installed
- Enter camera settings → Gimbal → Auto Calibration
- Let the full 30-second cycle complete (not the 5-second quick reset)
- Test pan/tilt extremes before takeoff
The specific failure mode: Partial calibration causes “gimbal drift” where the horizon slowly tilts during yaw movements. You won’t see it in hover. You’ll see it in your first orbit or reveal shot, and it’s unfixable in post.
Weight limits by platform (2026 models):
- Mini 5 Pro: 4.2g max per filter (official), 6.5g practical in calm air
- Air 4: 8.5g official, 12g practical
- Mavic 4 Pro: 15g official, 22g with gimbal sensitivity reduced to -1 in settings
Aftermarket metal-ring filters look premium but push you past these thresholds. Premium resin or “aerospace polymer” housings (Freewell, PolarPro’s Lite line) shave 30-40% weight with identical optical quality.
Seasonal-Specific Tips for Summer 2026 Shooting
The current registration surge means more pilots competing for the same golden hour windows. Differentiate with timing and filter choices others miss:
The “Blue 15” window: 15 minutes after sunset when the sky holds deep blue but artificial lights warm up. ND4 + mild CPL captures this transition without clipping either end. Most pilots pack up too early.
Midday architecture: ND16 minimum, ND32 preferred. Concrete and glass reflect brutally. The “bad light” hours become viable for real estate work with proper filtration.
Wildfire haze season: The western US and Mediterranean regions are seeing extended smoke periods. CPL cuts particulate glare; ND8 or ND16 lets you open shadows in post without highlight destruction. The combination is non-negotiable for usable footage in compromised air quality.
Waterfall/chasing season: ND64 or stacked ND32+CPL for 0.5-1 second exposures on stills. Video requires ND8-ND16 with 24fps/1/50s to maintain silk-smooth water without stutter. The “long exposure video” trend dies when the motion cadence feels wrong.
Conclusion: Your Filter Kit Is a Creative Decision, Not an Accessory
This drone photography ND filters guide started with a hard truth: the hardware gap between amateur and professional footage has collapsed. The creative gap hasn’t.
ND filters don’t make your footage “better” in some abstract sense. They make it intentional. They force you to choose motion characteristics, protect dynamic range for grading decisions, and commit to exposure at the moment of capture rather than hoping software saves you.
The pilots getting repeat clients, the accounts building engaged audiences, the reels actually breaking through algorithm noise—they’re not flying more expensive drones. They’re flying the same drones with specific filters, calibrated gimbals, and the discipline to shoot in conditions others avoid.
Start with ND8. Add ND16 before summer ends. Master the calibration sequence. Stack only when the shot demands it. And stop trusting variable NDs that promise convenience while delivering inconsistent results.
The footage you want is already possible with what you own. The filter is just the commitment device that gets you there.